Browse articles or ask us a question. We'll get you on the right path.
Working With Walls
How to Create and Modify Walls
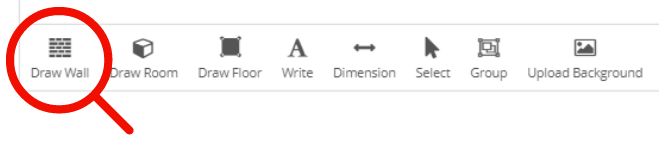
Walls are created using the Draw Wall tool – click once to activate it then you are ready to draw walls:
Walls are determined by two or more points, which can be moved or deleted at any time. After you select the first point, a banding line follows your cursor indicating the wall orientation. In the middle of the banding line is a text box that gives you dynamic feedback of the length. Double click to end wall creation.
Once the wall is selected, you can drag it or any corner (point) from it to any distance or angle with the mouse.
You can also split a wall by double clicking on it in the desired point.
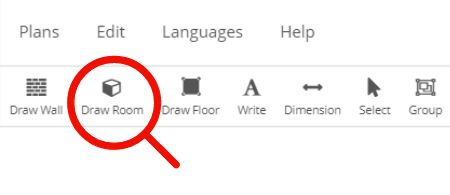
You can create entire rooms using the Draw Room tool, located in the horizontal toolbar at the top of the screen. Click once to activate it, then your mouse pointer will be ready to drop a room in your work space:
Enter Exact Wall Length
To bring a wall to a specific length you can click and drag it until you bring it to the exact dimension; you can also select the wall then enter values from the keyboard in the bottom bar that comes up:

Change Wall Thickness & Height
If you would like to change the thickness of a specific wall, select the wall, go to property bar located at the bottom, choose the edit icon and change the wall width accordingly:
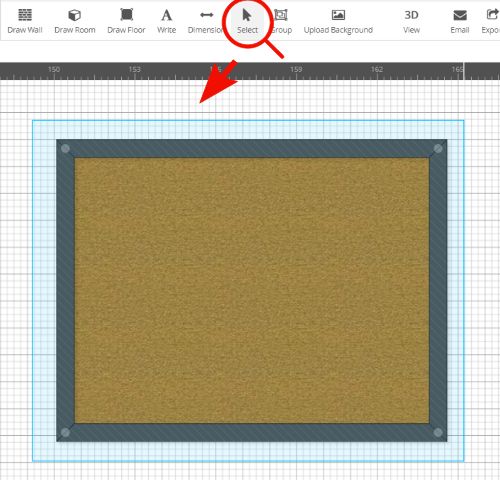
Manipulate Multiple Walls
Use the Select tool to move, copy-paste or delete multiple walls or rooms.
When this tool is activated, you can create a selection rectangle around multiple objects – click and keep the mouse button pressed, move the cursor to determine your selection, and click again to release the mouse button:
A selection can be easily moved (drag it to another position by keeping the mouse button pressed), copy-pasted into the same tab or into a new tab (by using keyboard shortcuts Ctrl+C / Ctrl+V) or deleted.
Wall Opening
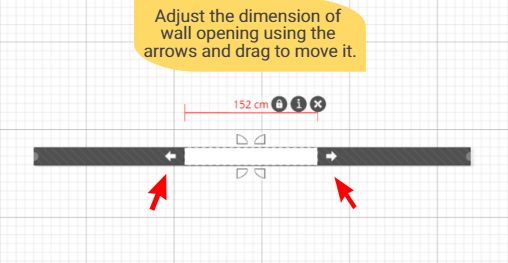
To create an opening in a wall, click and drag on the wall the “Wall opening”.
You can adjust the placement and dimension of wall opening using the arrows:
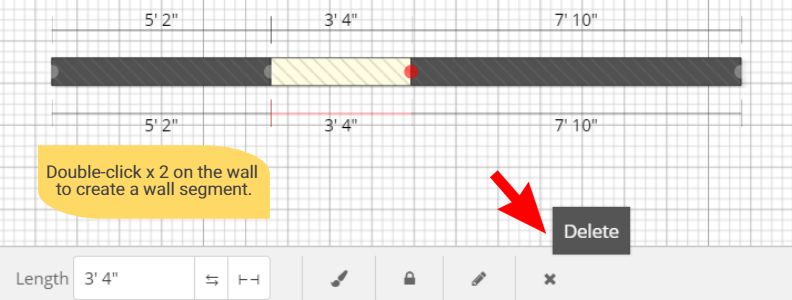
Tip: Another way to create wall openings is by removing parts from a wall. Double click to create a node in a wall (x2), and delete the resulting segment:
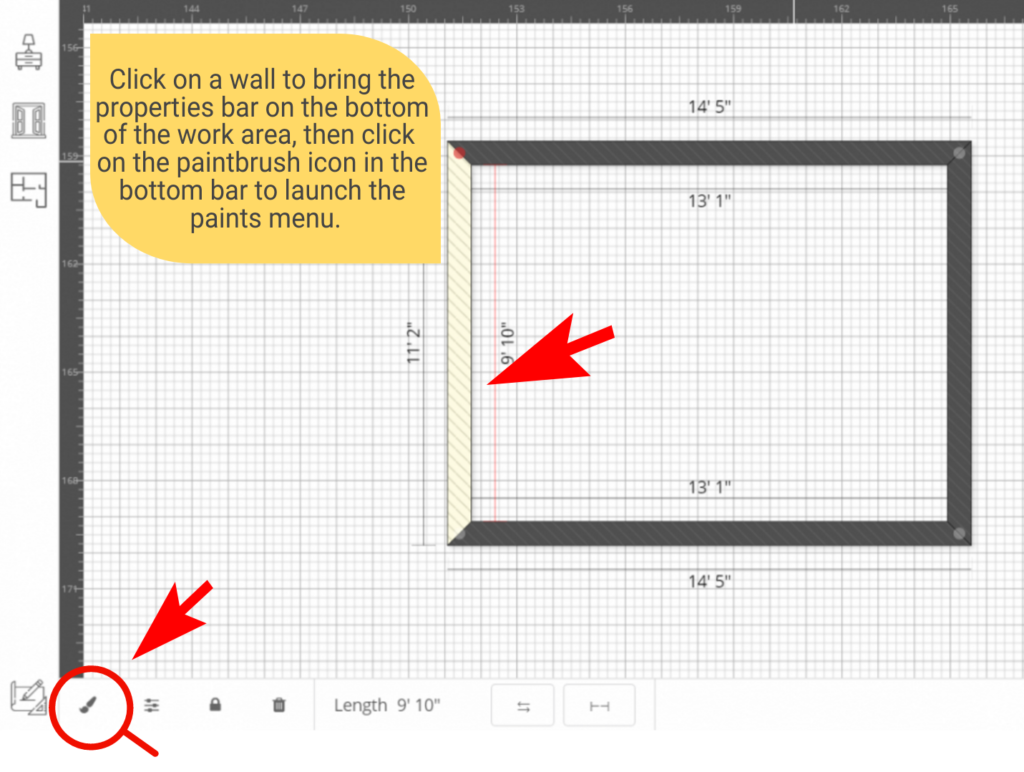
Paint Walls
In order to paint a wall you need to select it first then click on the small paintbrush icon – this will bring the wall paints menu:
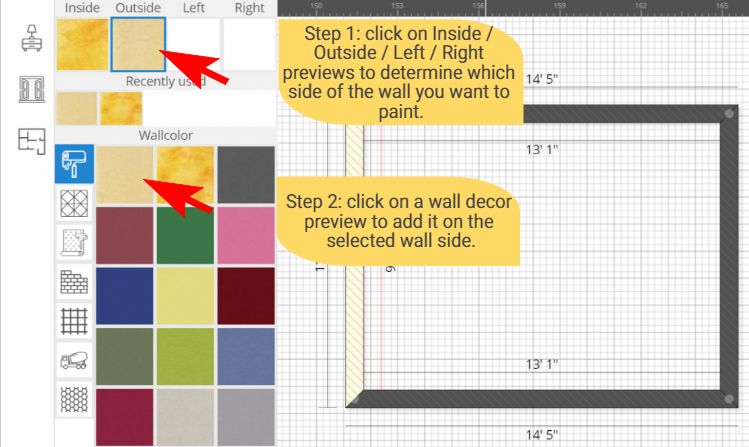
The paint varieties are grouped into categories like “Wallpaper”, “Wallcolors”, “Tiles”, “Bricks”, etc. To apply paint (or wallpaper or wall tiles), select first the corresponding wall side (Inside, Outside, Left or Right) then click on the wall decoration:
Tip: Launch the PIP mode from the 3D tools to preview wall decor changes in real time on the right side of the working area:


